Python Environment Manager - uv
As a computational biologist, I have relied on conda for Python package management for over a decade. This is largely because most bioinformatics packages and software are distributed through conda repositories, and installation instructions almost always provide conda-based workflows. However, one persistent pain point with conda is the time required to resolve and install entire environments. “mamba” alleviates this issue to some extent, but the recently released Rust-based tool “uv” completely changed my perspective on what “fast” dependency management can look like. In this post, I share my learning notes on this impressive tool and describe how I have integrated it into my current data science workflow.
Introduction
uv, written in Rust, is an extremely fast Python package manager. It serves as a unified replacement for tools many of us are familiar with (eg. pip, pyenv, and poetry) and provides a comprehensive project manager with lockfile support.
Project-based environment management is a relatively new concept in modern Python development. Instead of sharing virtual environments across multiple projects, uv creates an independent virtual environment for each project, with the .venv directory embedded directly within the project itself rather than managed at the system level. This setting increases the project reproducibility and eliminate “dependency hell” that frequently associated with python package verions. It also enhances the CI/CD pipeline and benefits long-term maintenance.
uv vs. conda
Conda is an environment manager that has been widely used in the bioinformatics community. Similar to uv, it includes built-in Python version management, resolves package dependencies, and enhances reproducibility. In addition to Python, conda functions as a cross-language package manager (e.g., for R, Java, and others) and automatically handles system-level dependencies such as C++ libraries. For these reasons, conda is frequently used in bioinformatics pipelines.
Below is a brief comparison between uv and conda, generated by ChatGPT, which I think captures the major pros and cons from a user-centric perspective..
| Dimension | uv | conda |
|---|---|---|
| Primary role | Python package manager and project manager | Cross-language package manager and environment manager |
| Typical user mental model | “One project = one isolated Python environment” | “One environment may serve multiple projects” |
| Environment scope | Project-local (.venv inside each project) |
System-level (named environments stored globally) |
| Dependency resolution speed | ⚡ Extremely fast (Rust-based, parallel, cached) | 🐢 Slower (improved with mamba, but still heavier) |
| Lockfile support | Native, first-class (uv.lock) |
Indirect / inconsistent (often via environment.yml) |
| Reproducibility | Strong and explicit at project level | Good, but depends on disciplined env management |
| Python version management | Built-in | Built-in |
| Non-Python dependencies (C/C++ libs, system libs) | ❌ Not handled | ✅ First-class support |
| Bioinformatics ecosystem | Limited (Python-only) | Excellent (most bioinfo tools available) |
| Disk usage | Higher (one .venv per project) |
Lower (envs often shared) |
| CI / automation | Very simple and fast | Heavier setup, longer build times |
| Learning curve | Low for modern Python users | Moderate, many concepts and commands |
| Best use case | Modern Python projects, data science, ML | Bioinformatics pipelines, mixed-language stacks |
Rule of thumb / bottom line: If you are working on a Python-only project, such as data science or Python package development, choose uv to take advantage of its lightweight design and speed. If your project involves multiple languages or system-level dependencies, conda is the better choice.
Installation
The installation is super easy. Following the instruction, install the most recently uv release matching your OS.
How to use
Even though uv is designed for venv manager in project context, the versioned python intepreter actually is system-wide shared.
system-wide install python
uv python install 3.12This will install under system. for Apple Silicon Macs, the installtion location is at /Users/sckinta/.local/share/uv/python/cpython-3.12.10-macos-aarch64-none
To view available python intepreter in system
$ uv python list
cpython-3.14.0a6-macos-aarch64-none                 <download available>
cpython-3.14.0a6+freethreaded-macos-aarch64-none    <download available>
cpython-3.13.3-macos-aarch64-none                   /Users/sckinta/.local/share/uv/python/cpython-3.13.3-macos-aarch64-none/bin/python3.13
cpython-3.13.3+freethreaded-macos-aarch64-none      <download available>
cpython-3.12.10-macos-aarch64-none                  /Users/sckinta/.local/share/uv/python/cpython-3.12.10-macos-aarch64-none/bin/python3.12
cpython-3.11.12-macos-aarch64-none                  <download available>
cpython-3.10.17-macos-aarch64-none                  <download available>
cpython-3.9.22-macos-aarch64-none                   <download available>
cpython-3.9.6-macos-aarch64-none                    /usr/bin/python3
project management
After installing python system-wide for uv, main uv command-line steps in a project context includes 1. initialize a project, 2. create and manage a project virtual environment, 3. add and lock dependencies, 4. recover environment. These commands form the core workflow for managing Python projects with uv.
uv initcreatespyproject.tomlin current folder. Alternatively (withoutmdkir -p testfirst),uv init test --python 3.12. You can alsouv python pip 3.12later (see below)
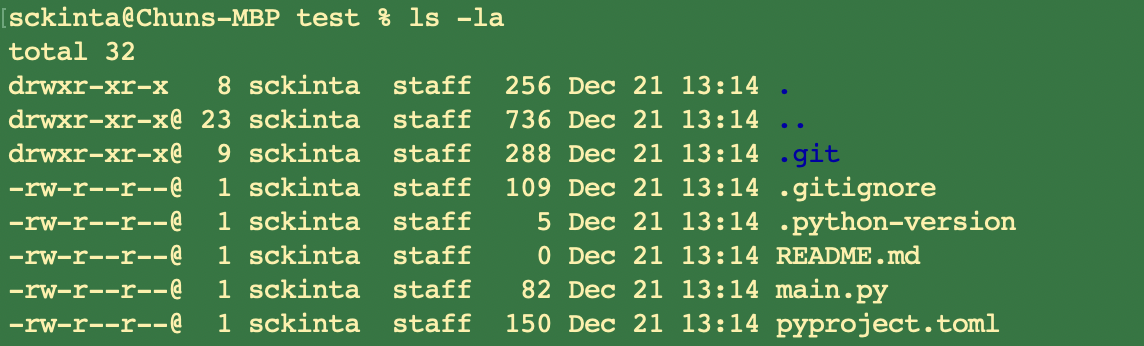
uv venvcreates.venvfolder in project folder.

source .venv/bin/activateactivates virtual env.deactivateto exit.

[optional] change python version in the project
vi pyproject.tomlmodifyrequires-python = ">=3.12”uv python pin 3.12pin this venv to specific versionuv syncsync the change topyproject.tomland createuv.lockfile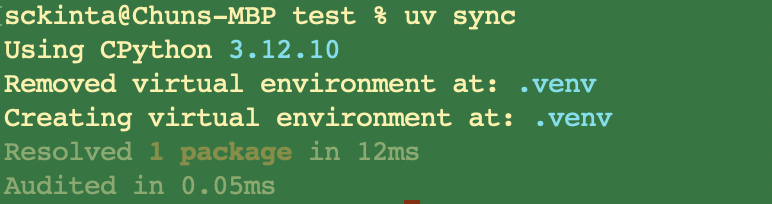
uv add pandasinstalls packages (eg. pandas) inside venv. It will add to./.venv/lib/python3.12/site-packages. Usinguv remove pandasto remove the package, which will remove the dependency as well.- difference with
uv pip install pandas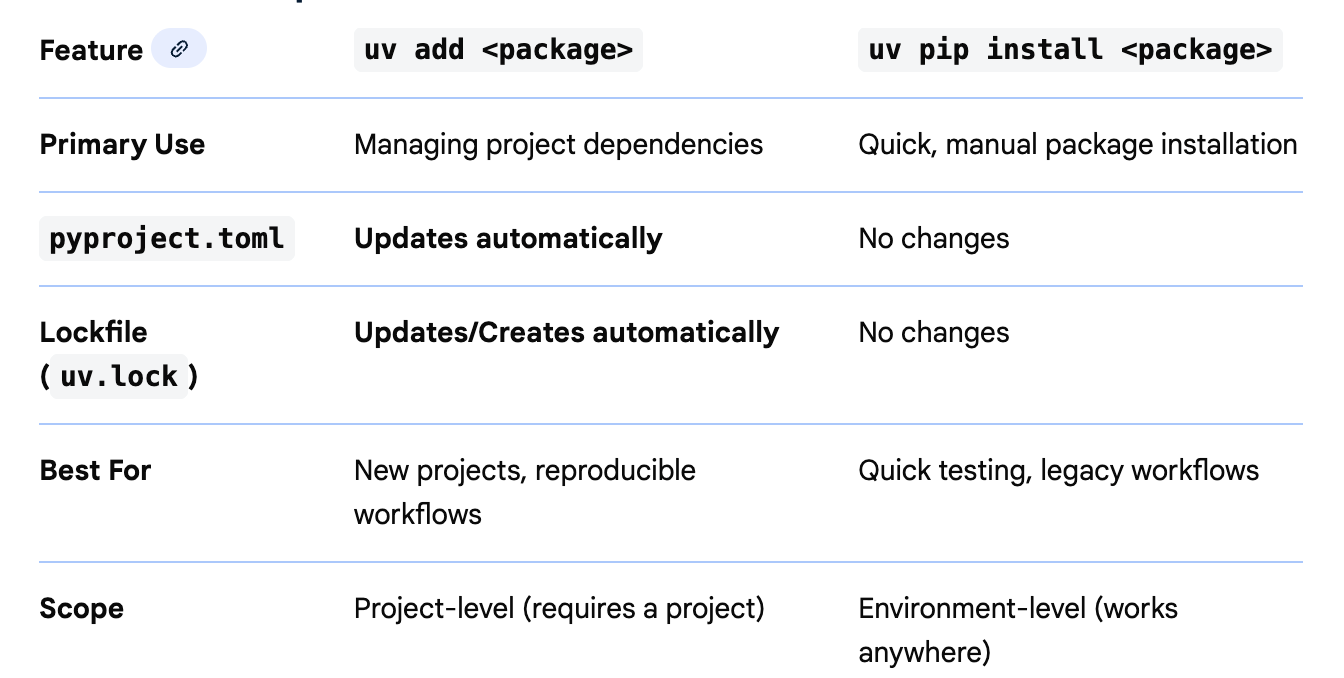
- difference with
There are concerns about too many venv taking too much disk storage. However, tools like uv use a central cache ($HOME/.cache/uv/wheels-v5/pypi) for packages and create hard links to them, rather than copying files for every project, which significantly reduces storage usage.
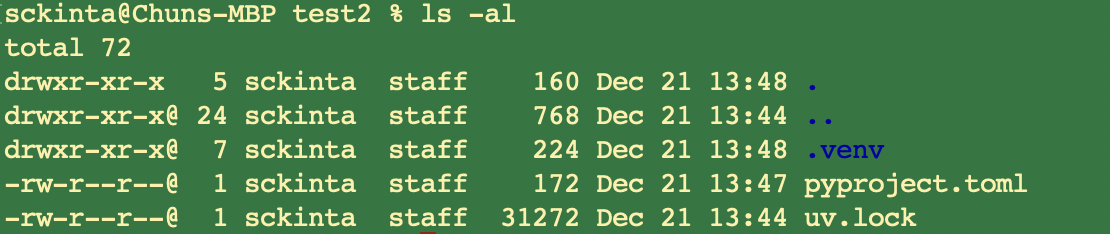
- recover/recreate
.venvrequirespyproject.toml.
mkdir -p test2
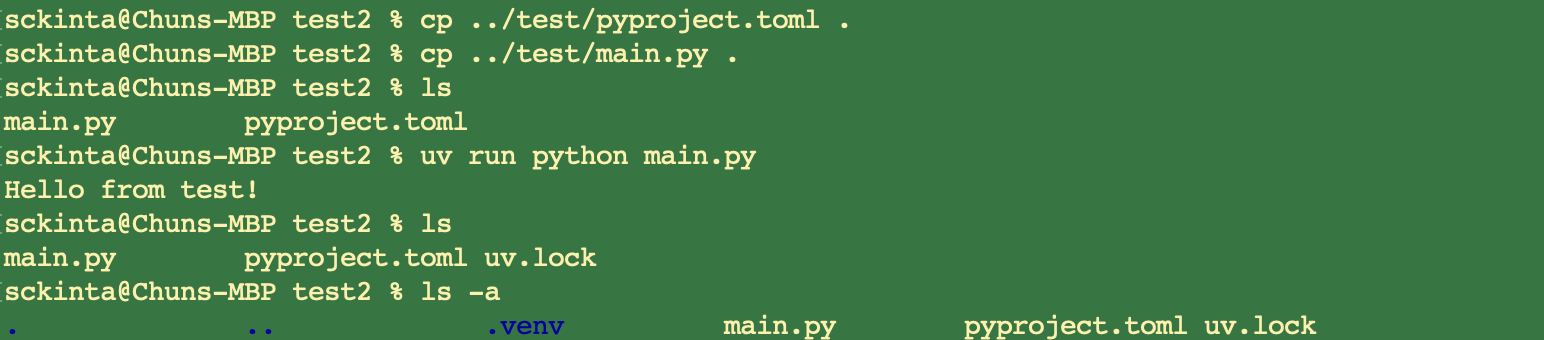
cp test/pyproject.toml test2/
cd test2/
uv sync # recreate `uv.lock` and `.venv`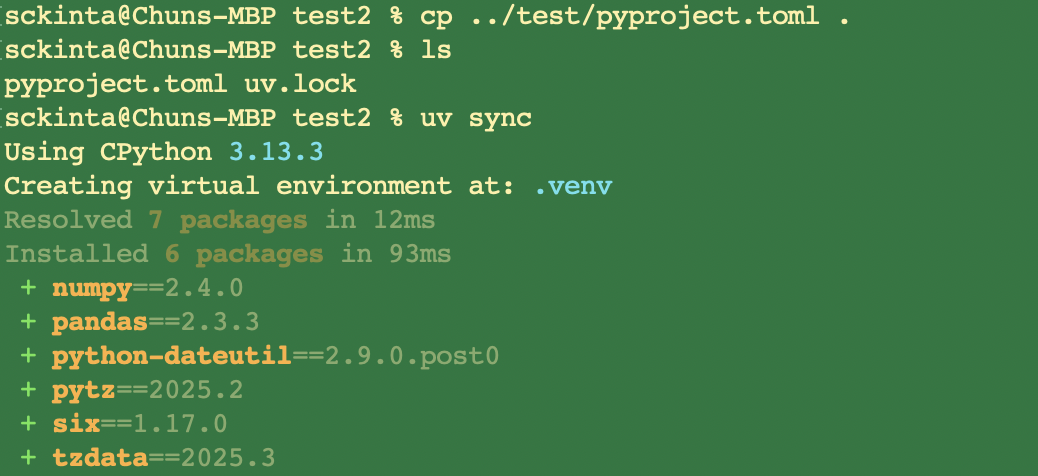
Another way to recreate .venv is through uv run, which will auto-detect .venv missing, and recreate based on pyproject.toml.
Using uv in Positron and VScode
This section walks through how to use uv seamlessly in Positron and VS Code. We focus on setting up project virtual environments, configuring the Python interpreter, and ensuring that both editors work smoothly with uv-managed dependencies.
positron
Positron use uv venv from two methods: 1. starting from existing project with venv created and 2. creating new project with uv venv.
- If project exist, go to “Open Folder” on the welcome page or in menu File → Open Folder. Positron will automatically detect .venv in the folder and using the Interpreter Session in that venv.
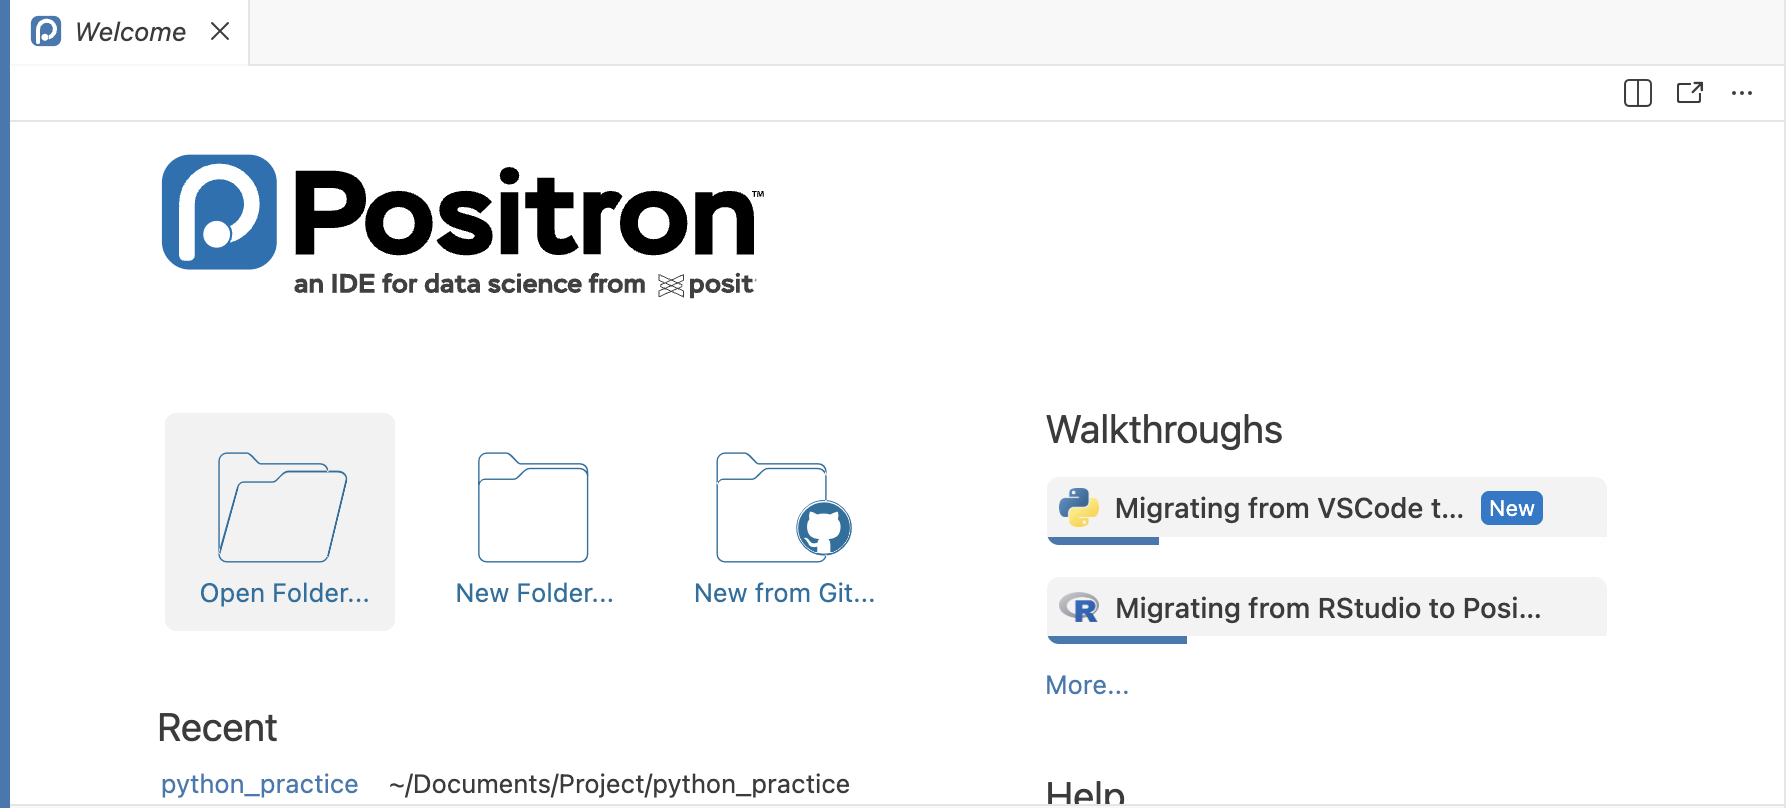
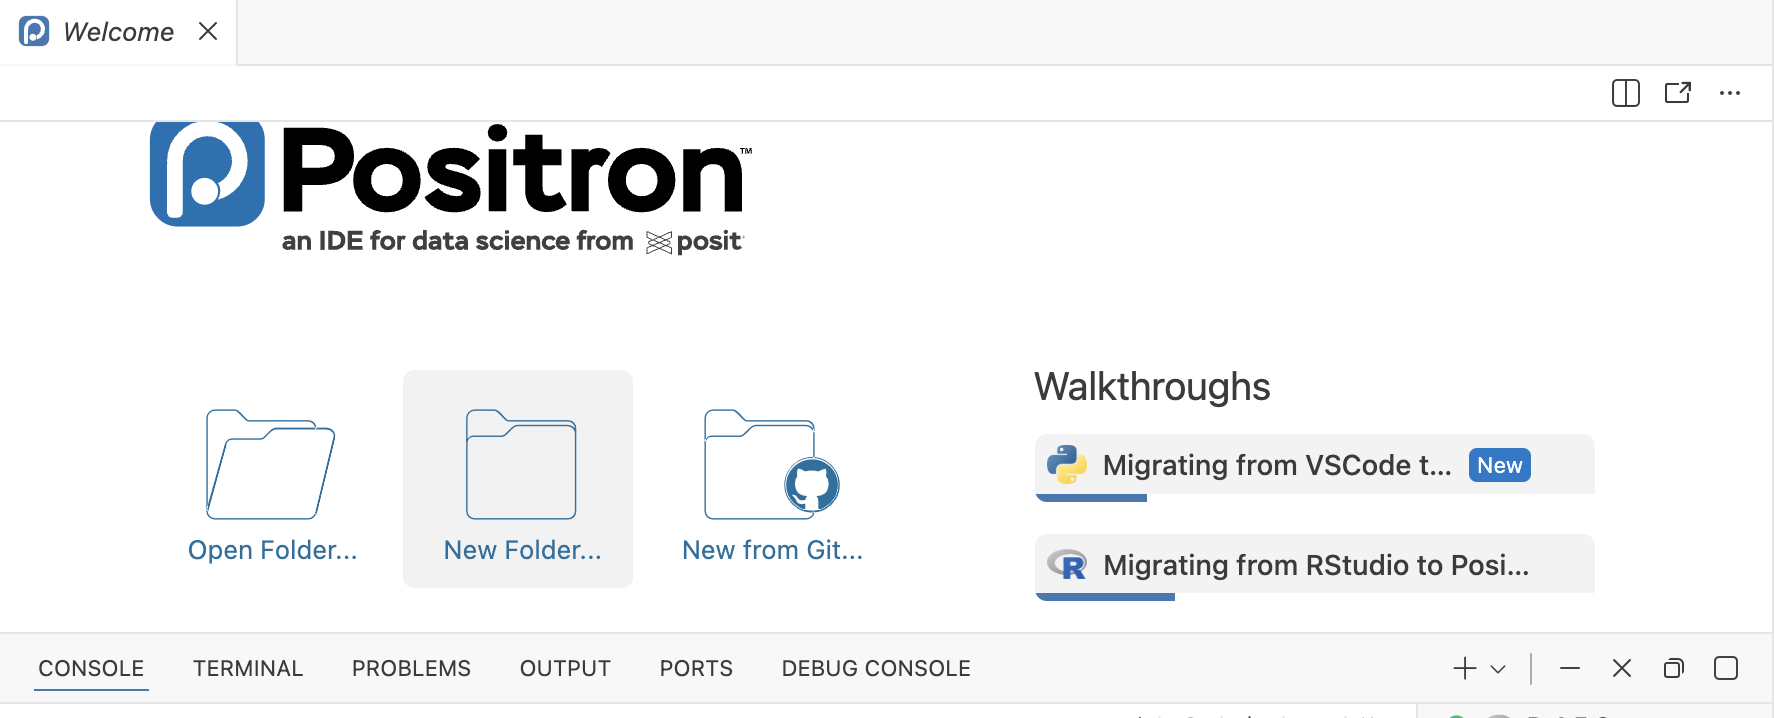
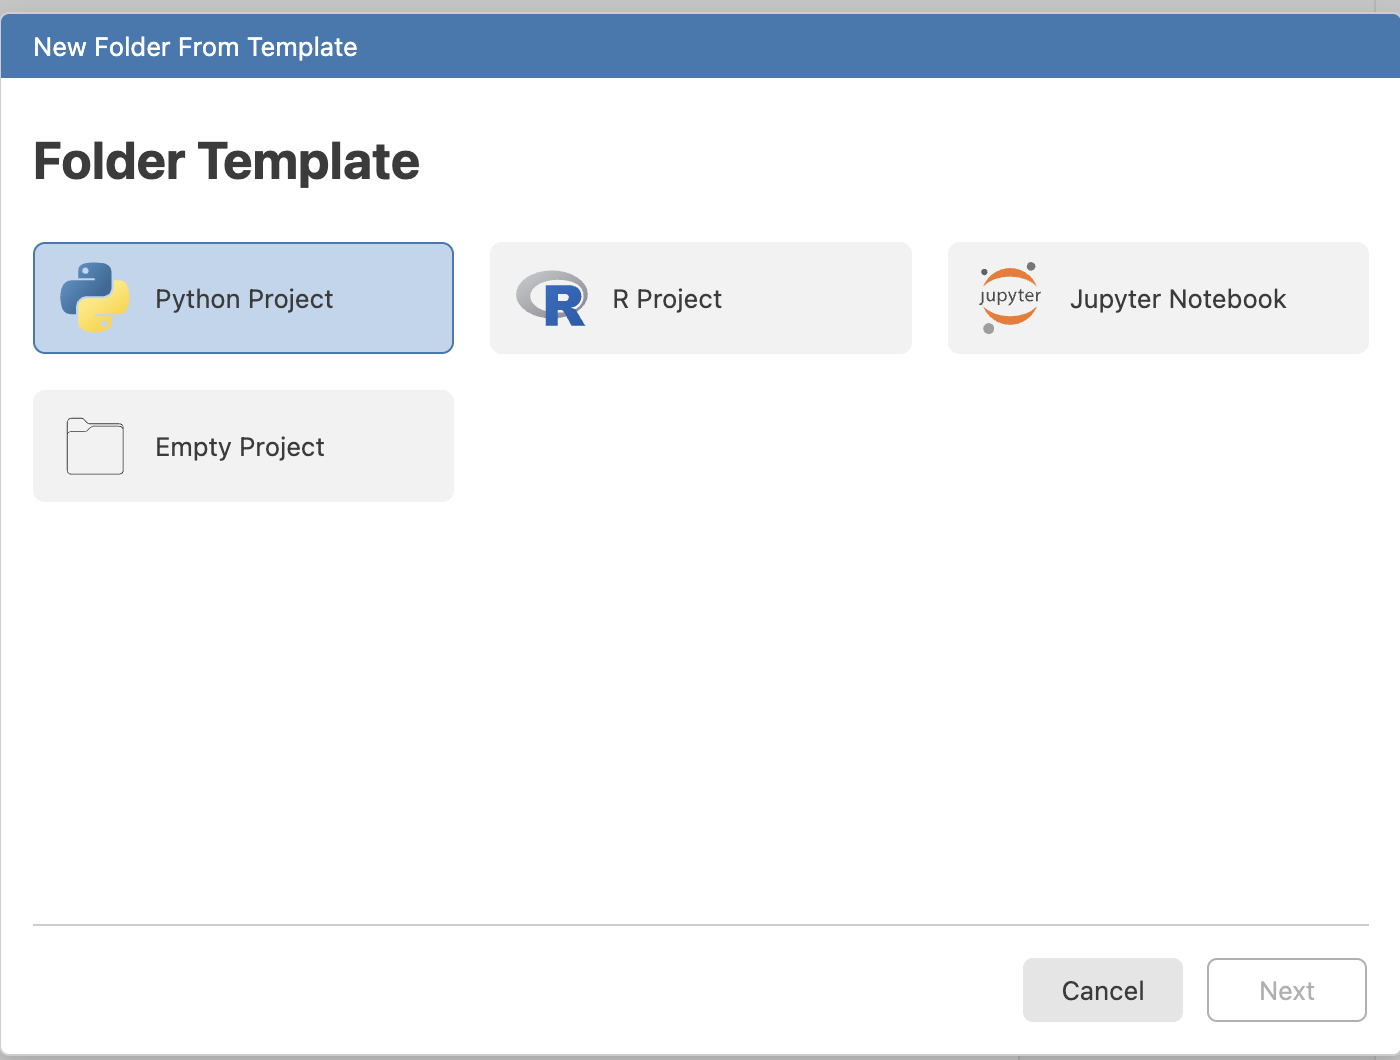
- Create a new project with setting (prerequsit: uv installed): go to “New Folder” on the welcome page or in menu “File → New Folder From Template” Positron will automatically create a python project with the setting you want.
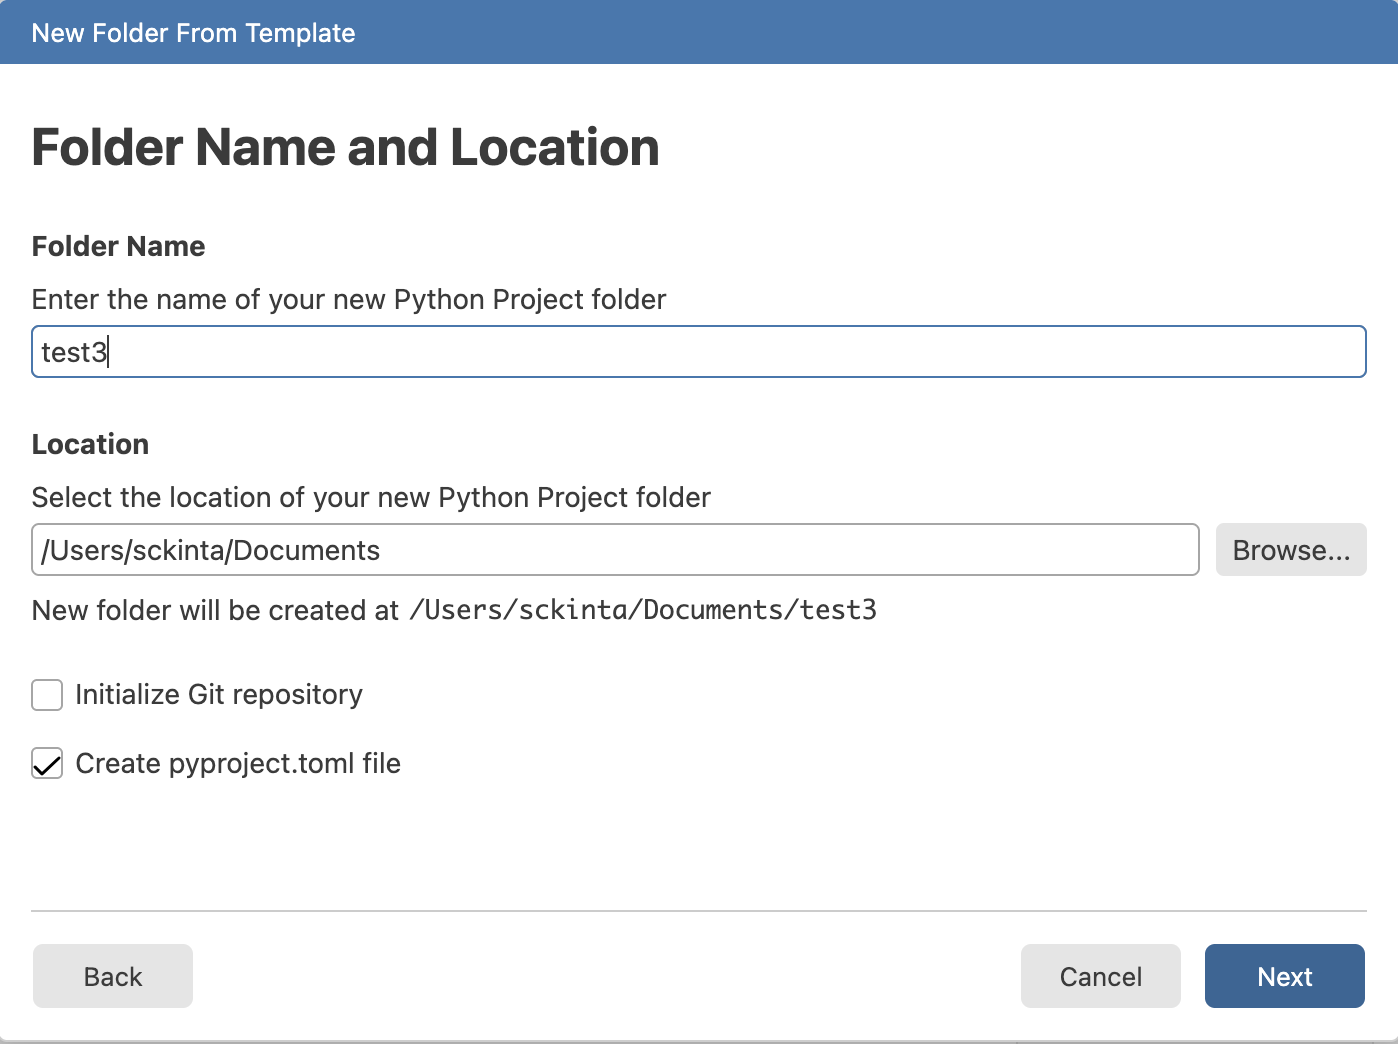
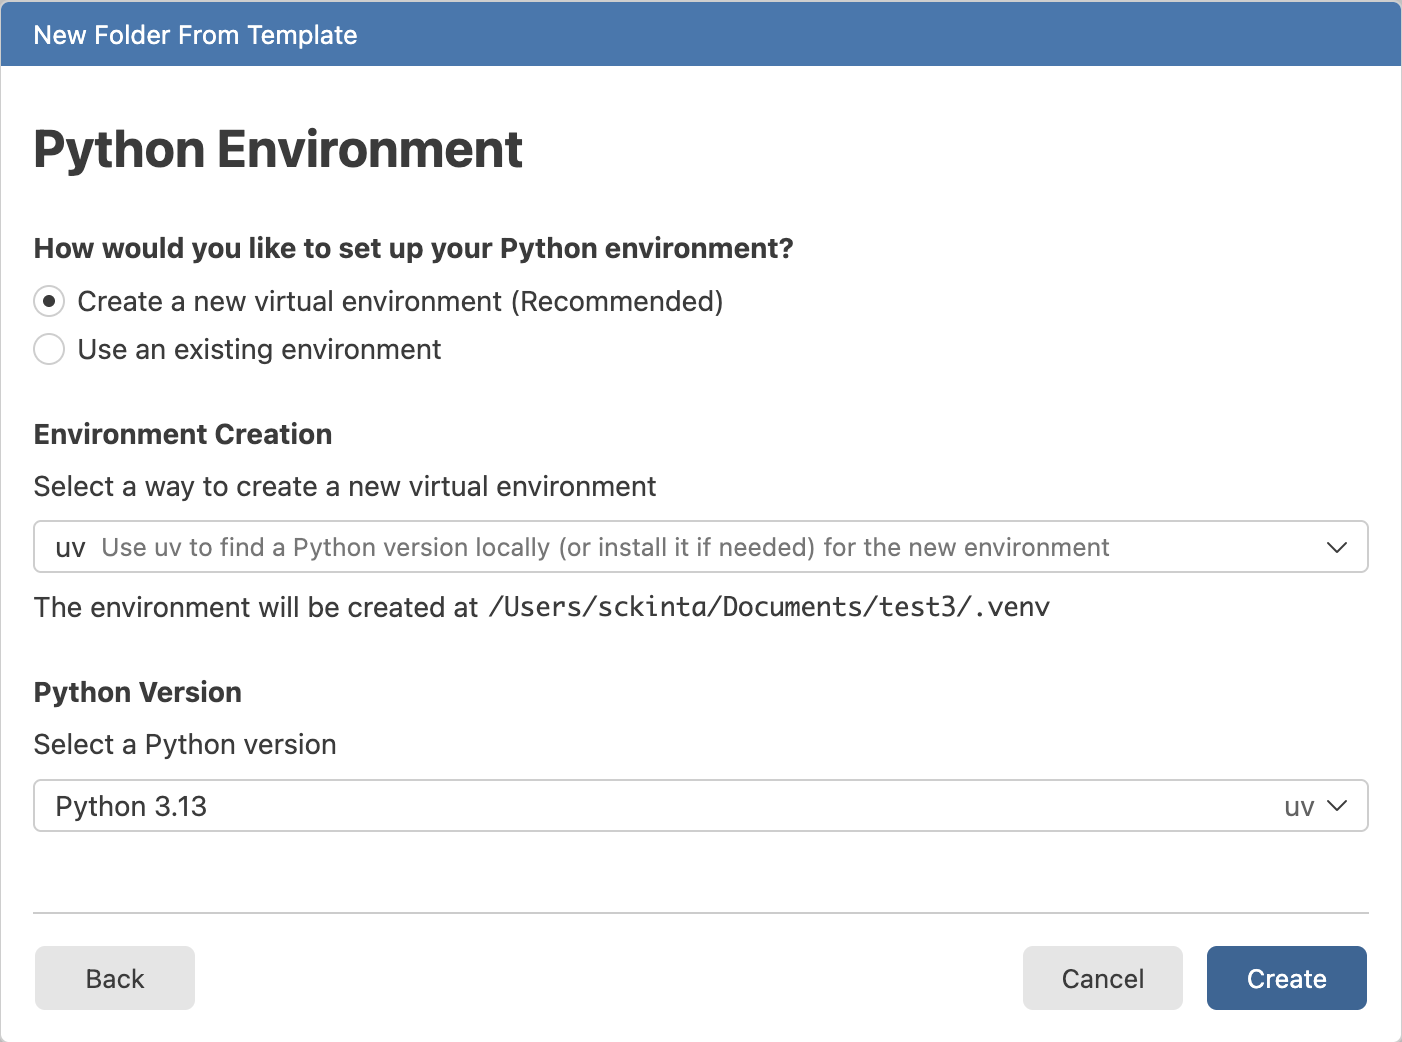
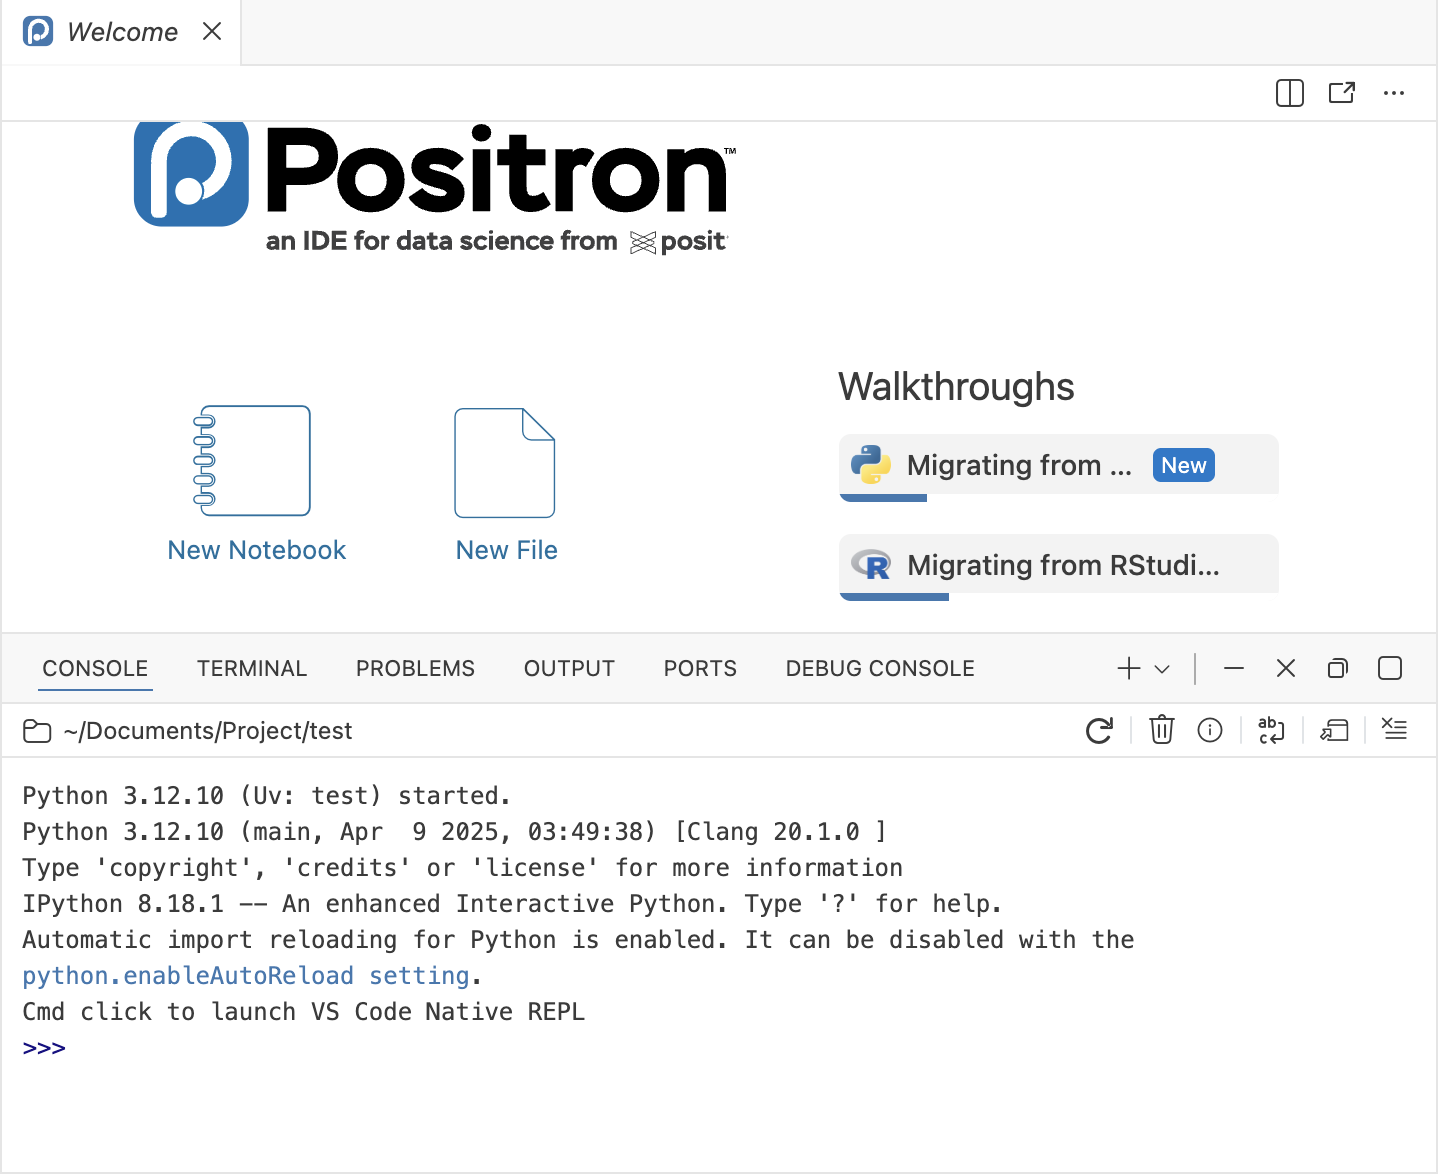
After creation, you are taken directly into the project folder. Behind the scenes, these GUI steps run uv init test3 --python 3.13; cd test3; source .venv/bin/activate. As a result, when the project loads, the terminal already has the virtual environment activated.
VSCode
In VScode, we can use uv venv in two ways – 1. using interpreter to run python script (.py) in terminal and 2. using uv as kernel for jupyter notebook (.ipynb)
- using terminal interpreter
- Open the project folder through Welcome Page or File→Open Folder
- at Terminal,
cd project_folder; source .venv/bin/activate - then you can run
python [script.py]in the terminal
- using jupyter
- Open the project folder through Welcome Page or File→Open Folder
- At Terminal,
cd project_folder; source .venv/bin/activate uv add ipykernel- Open your
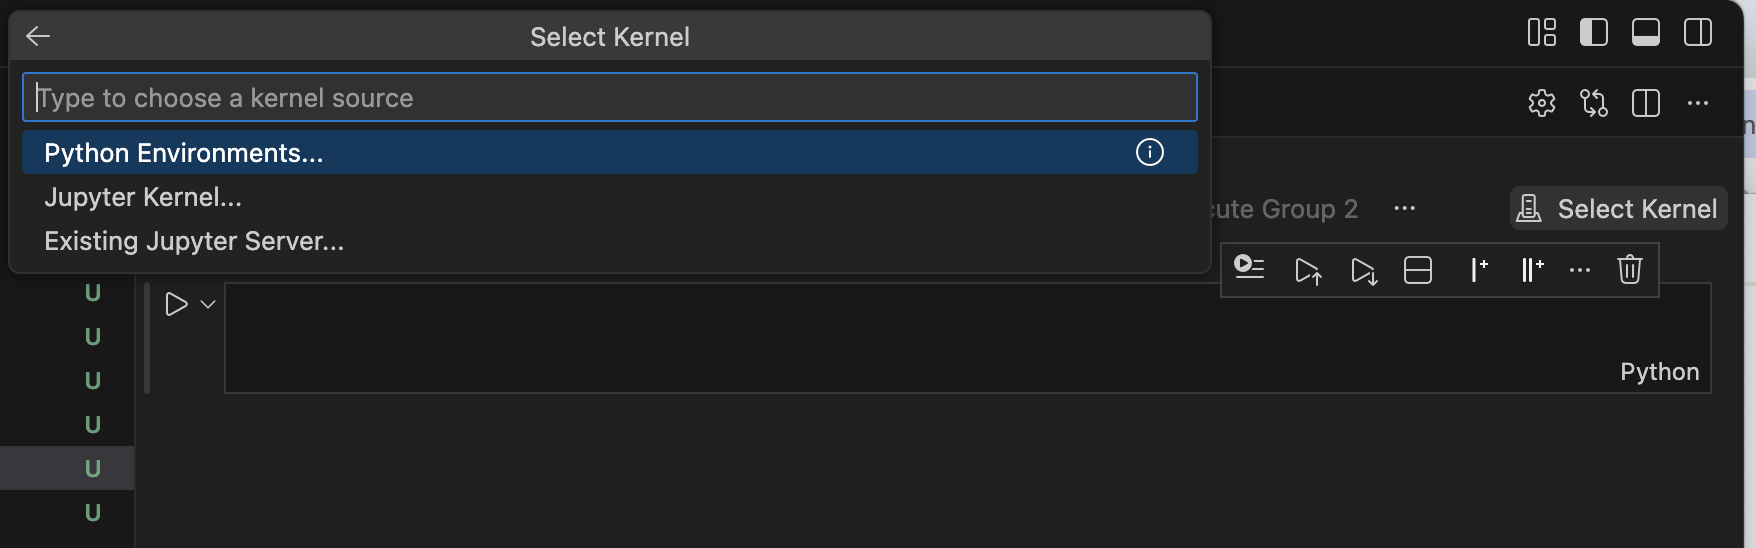
.ipynbfile. - Click “Select Kernel” in the top right corner.
- Choose “Python Environments” and select the
.venvcreated byuv

Summary
In this post, I explored uv Rust-based Python package and project manager, and showed how it fits into a modern, project-centric development workflow. I demonstrated how to integrate it seamlessly with editors like Positron and VS Code. For Python-only projects such as data science and package development, uv represents a compelling step forward in Python environment management and is well worth adding to your toolbox.